

BGP mode isn’t available at every site — you can announce a BGP Elastic IP only from sites that support it.
BGP mode vs. Routed mode
In Routed mode (the default), the address is assigned to one server and the network forwards traffic to it. You move the address between servers from the dashboard. In BGP mode, the address is not tied to a server. You allocate a/32 in a site, then each participating server runs a BGP session and announces the address. The network delivers traffic to the servers that are currently announcing it, so:
- If an announcing server stops, traffic continues to the others — failover is automatic.
- Traffic is distributed across the healthy servers that announce the address.
When to use BGP mode
- High availability — run the same service on multiple servers so a single server failure does not take the address offline.
- Horizontal scale — spread incoming traffic across several servers announcing the same address.
Requirements
- Bare metal servers only. Virtual machine support is not available.
- IPv4 only.
- Announcing servers must be BGP-ready. Only servers that are compatible with BGP can announce a BGP Elastic IP. You enable this when you deploy the server — see Deploy a BGP-ready server. Servers that aren’t BGP-ready won’t be available to add as announcers.
- Announcing servers must be in the same site as the address. A
/32allocated in a given site can only be announced by servers in that same site. The site you choose at allocation time is permanent.
Deploy a BGP-ready server
Only BGP-ready servers can announce a BGP Elastic IP. Enable this when you create the server — you can’t add a server that isn’t BGP-ready as an announcer.1
Start creating a server
Go to Compute → Servers, click Deploy server, and configure it as usual (site, plan, operating system).
2
Enable BGP-ready server
In the Advanced section, turn on BGP-ready server. This allows the server to announce a shared Elastic IP for high availability.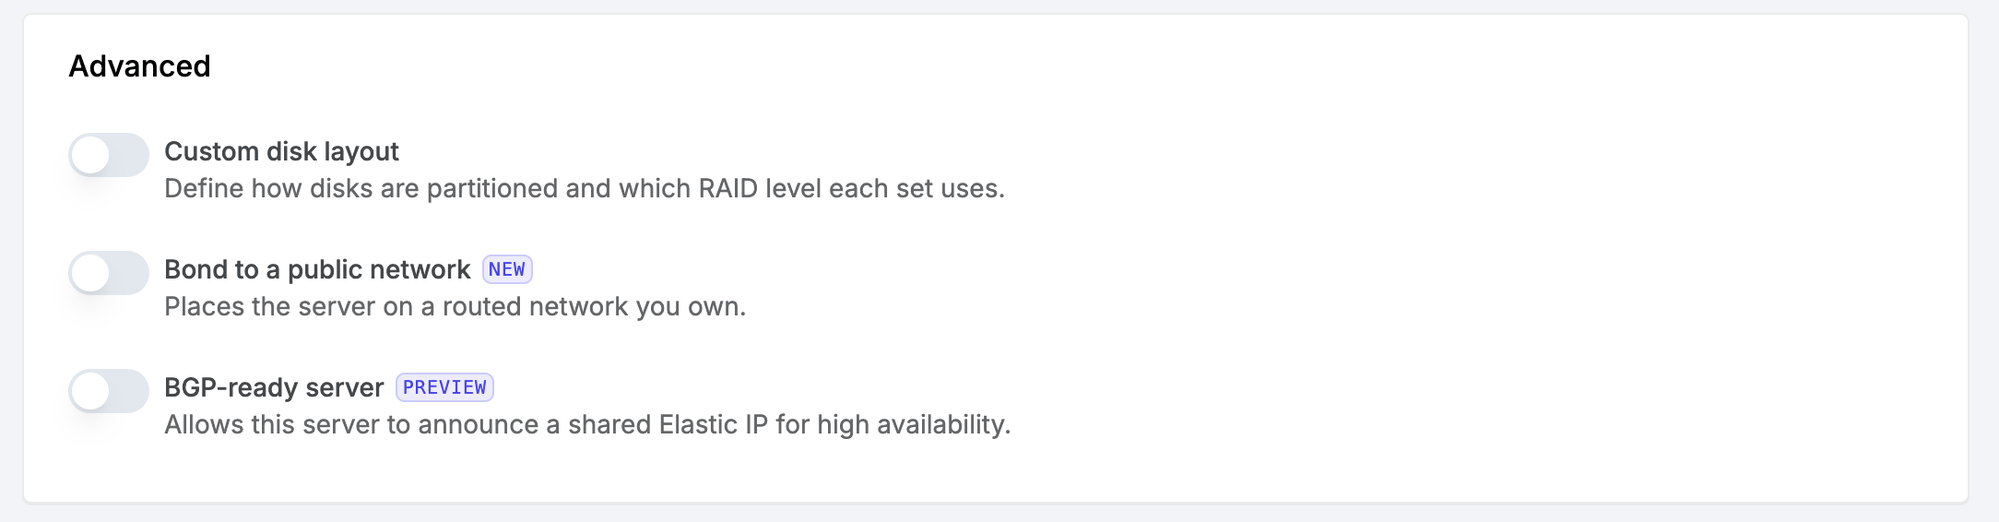
Allocate a BGP Elastic IP
1
Navigate to IP addresses
In the sidebar, go to Network → IP addresses and select the Elastic IPs tab.
2
Click Create Elastic IP
Click the Create Elastic IP button and choose BGP as the routing type.
3
Select a site
Choose the site where the address will live.The site is permanent: only servers in this site will ever be able to announce the address, so pick the site where your servers are.
4
Wait for provisioning
The address is allocated immediately. It exists but is not reachable yet — nothing announces it until you add an announcing server and configure it.
Add announcing servers
An announcing server runs a BGP session and announces the address. Manage them from the Elastic IP detail page.1
Open the Elastic IP details
From the Elastic IPs list, click the BGP-mode address.
2
Add an announcing server
In the Announcing servers section, pick a server from the Select server… dropdown, then click Add server. Only BGP-ready servers in the address’s site are offered.The session starts as pending and becomes active once the network configuration is applied, usually within a few seconds.
3
Find the peer address
Each session has a peer address — the BGP neighbor your server peers with. On Latitude’s network this is your server’s gateway. You need it for the BIRD
neighbor (or MetalLB peerAddress) in the next section.Get it in any of these ways:- Dashboard — the Announcing servers table shows a Peer address column for each server.
-
API — the session’s
peer_addressfield, returned by List BGP sessions. It isnulluntil the session becomes active. -
On the server — it is your default gateway:
Removing an announcing server withdraws its announcement immediately. If you remove the only one, the address stops being reachable.
Configure your server
Adding an announcing server prepares the network side. Your server still has to (1) hold the address locally and (2) announce it over BGP. The examples below use BIRD on Ubuntu; adapt the paths to your distribution. Replace the placeholders throughout:<elastic-ip>— the address you allocated.<peer-address>— the session’s peer address (your server’s gateway). Find it in the dashboard’s Announcing servers table, the session’speer_addressfield from List BGP sessions, or withip -4 route show default.<server-ip>— your server’s primary IPv4 address.
1. Bind the address to the loopback interface
The server must own<elastic-ip> locally, on lo, so BIRD has a route to announce. Add it in a dedicated netplan file so it survives reboots:
/etc/netplan/99-elastic-ip.yaml
netplan apply persists the address for the next boot but does not add it to the running loopback interface. Run networkctl reconfigure lo to add it now, then confirm with ip addr show lo.99-elastic-ip.yaml), not 50-cloud-init.yaml, which can be regenerated and would drop your change.
2. Install and configure BIRD
/32:
/etc/bird/bird.conf
3. Verify the announcement
1 exported confirms your server is announcing the address and the network accepted it. Repeat these steps on every announcing server you added.
Recommended reliability practices
BGP delivers traffic to whichever servers are announcing the address. Two additions make failover fast and correct.Tune the BGP timers
Thehold time 9; keepalive time 3; lines in the configuration above are the single most important reliability setting. With BIRD’s defaults, a server that freezes with its link still up can keep attracting traffic for two to three minutes before the network gives up on it. With these timers, that drops to about five seconds. The lower value from either end wins, so setting it on your side is enough.
Add an application liveness watchdog
BGP only checks that the routing session is alive — not that your application is serving. If your application stops while BIRD keeps announcing, that server keeps receiving traffic it can no longer handle. Run a watchdog that checks your application and removes<elastic-ip> from lo when it stops responding:
lo, the direct protocol withdraws it and the network stops sending traffic to this server — while the BGP session itself stays up, so nothing churns. Restore the address when the application recovers and the announcement returns automatically.