Filters
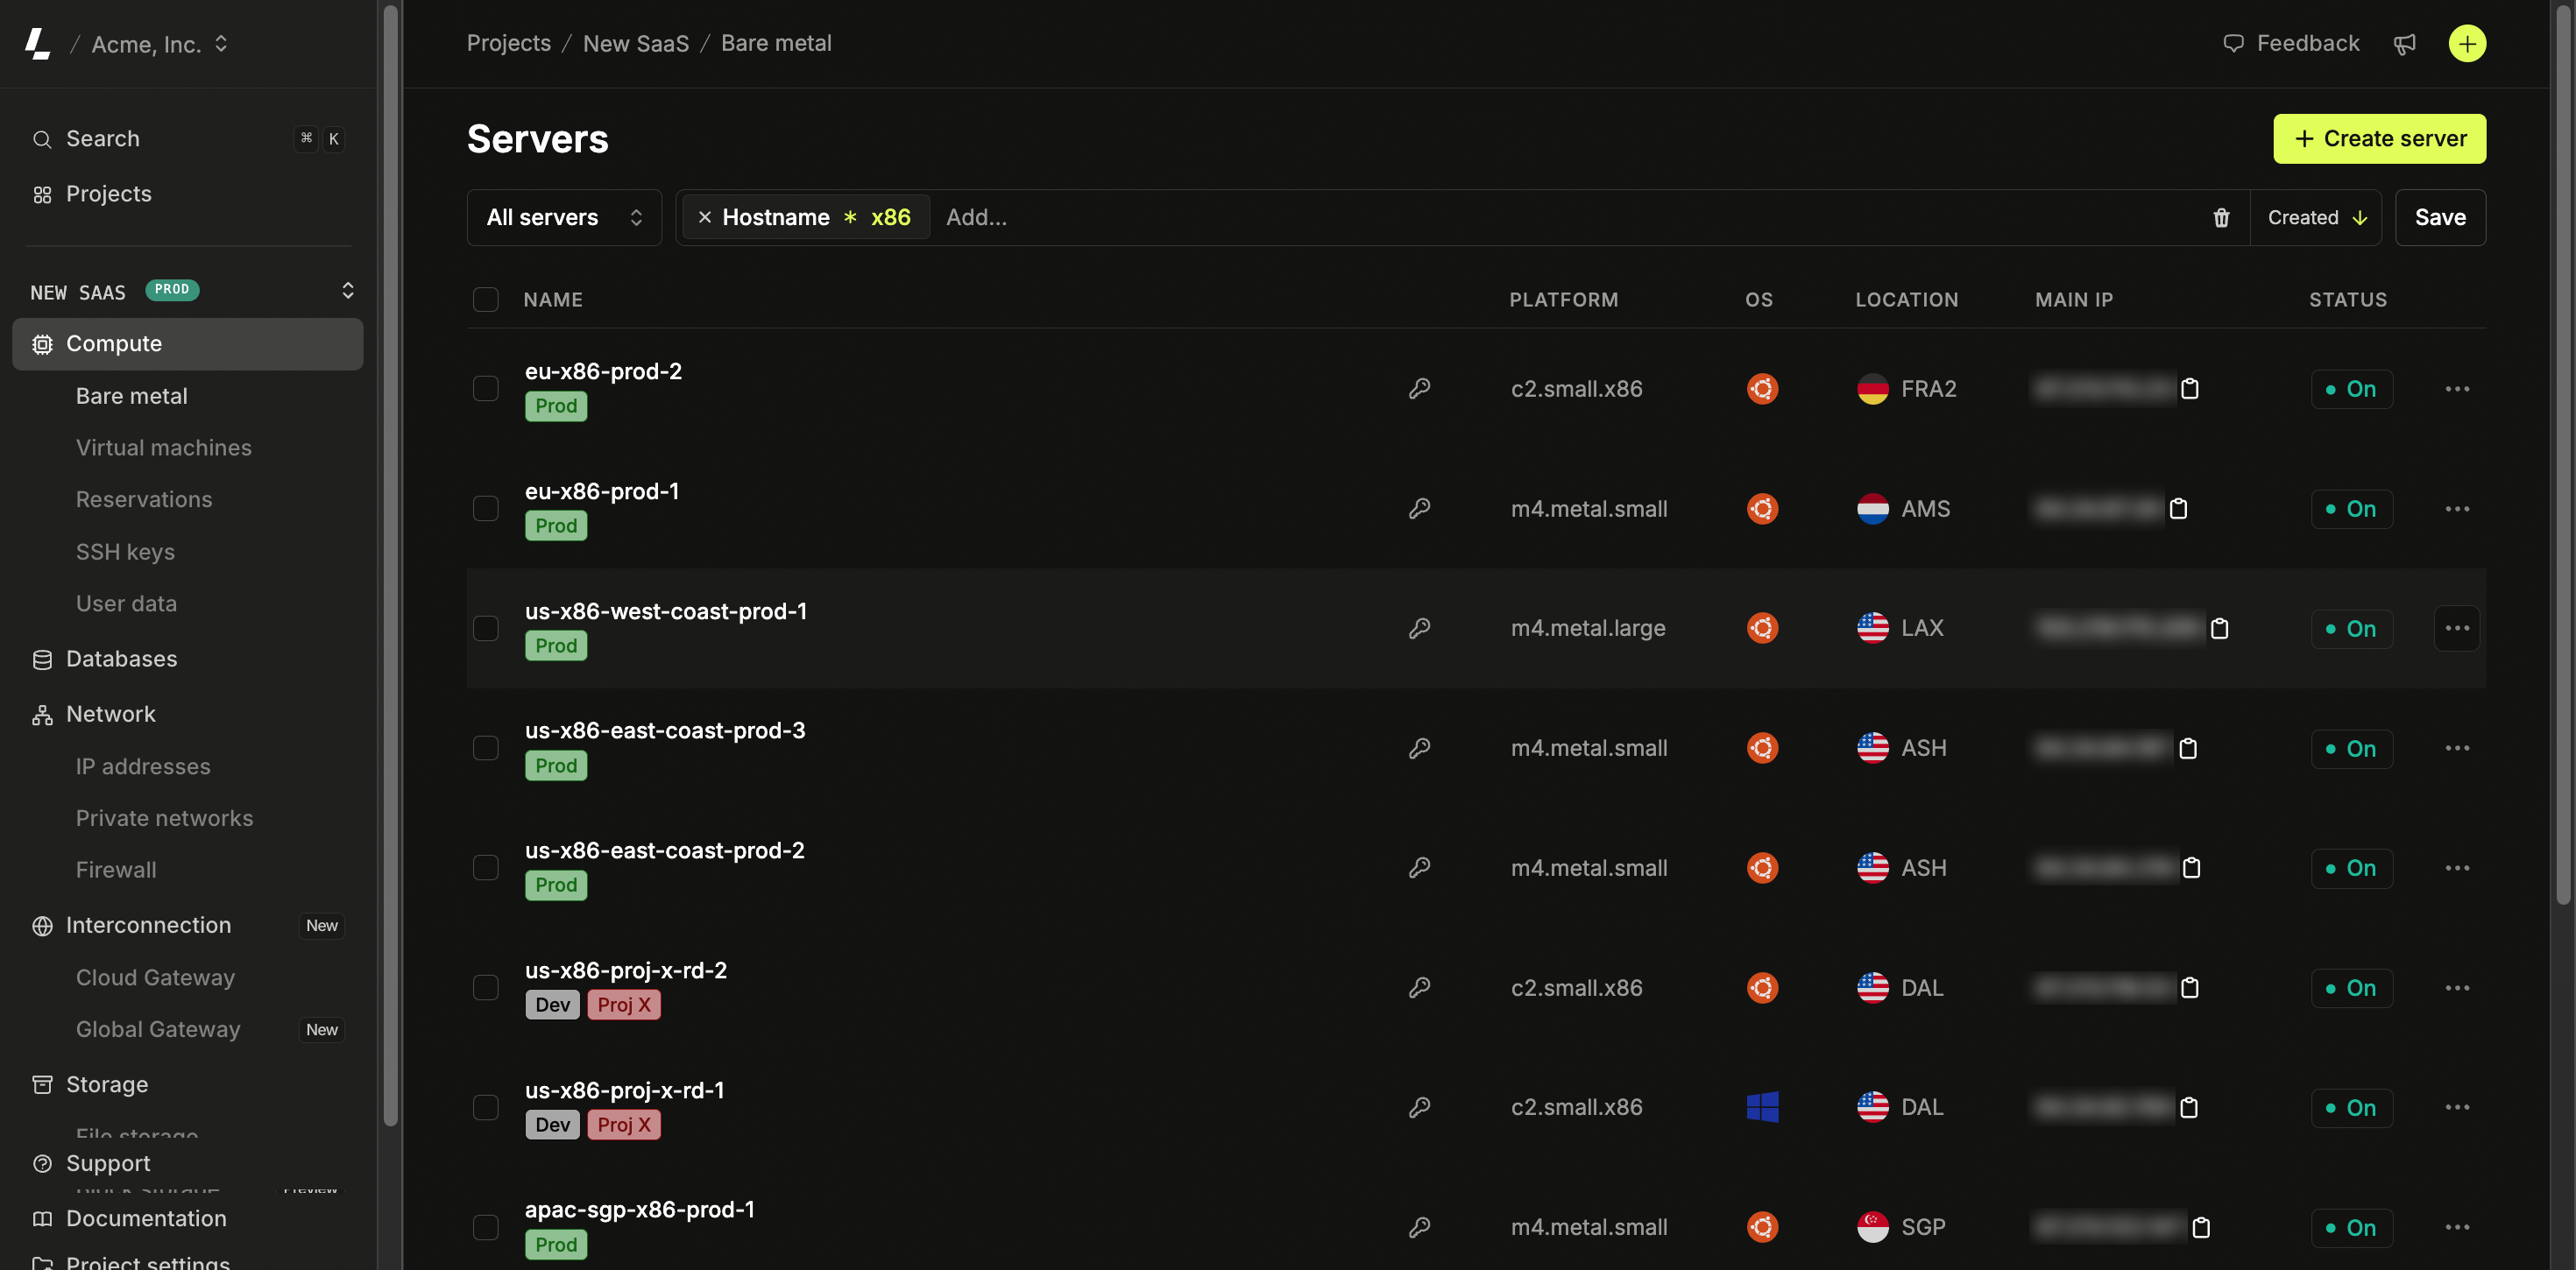
Quick search
The server list includes a quick search bar that supports multiple lookup methods:- Server ID: Enter the full server ID (e.g.,
sv_abc123def456g) to navigate directly to that server - IP address: Enter an IPv4 or IPv6 address to find and navigate to the server it’s assigned to
- Hostname or label: Enter text to find servers matching their hostname or label
Filter conditions
Query refinement can be done using filter conditions. When condition options are available, the symbol between the filter name and the value will be highlighted and turn interactive. Clicking on the symbol will open a dropdown menu of available conditions. Each filter has its own set of best suited conditions (e.g, for Hostname filter there are “contains”, “is equal to”, “starts with” and “ends with”).Sorting
Sorting helps you organize resource lists by the criteria that matter most. To change the sorting criteria, click on the current sorting applied (e.g Created) and a dropdown menu of available sorting options will be shown. To alternate between ascending and descending order, click on the arrow icon to toggle the sorting order.Views
Applied filters can be saved as Views, with each view getting its own URL so it can be shared with other team members or bookmarked. To create a view, set up the filtering options you want to apply and click on theSave button, type in a name and confirm.
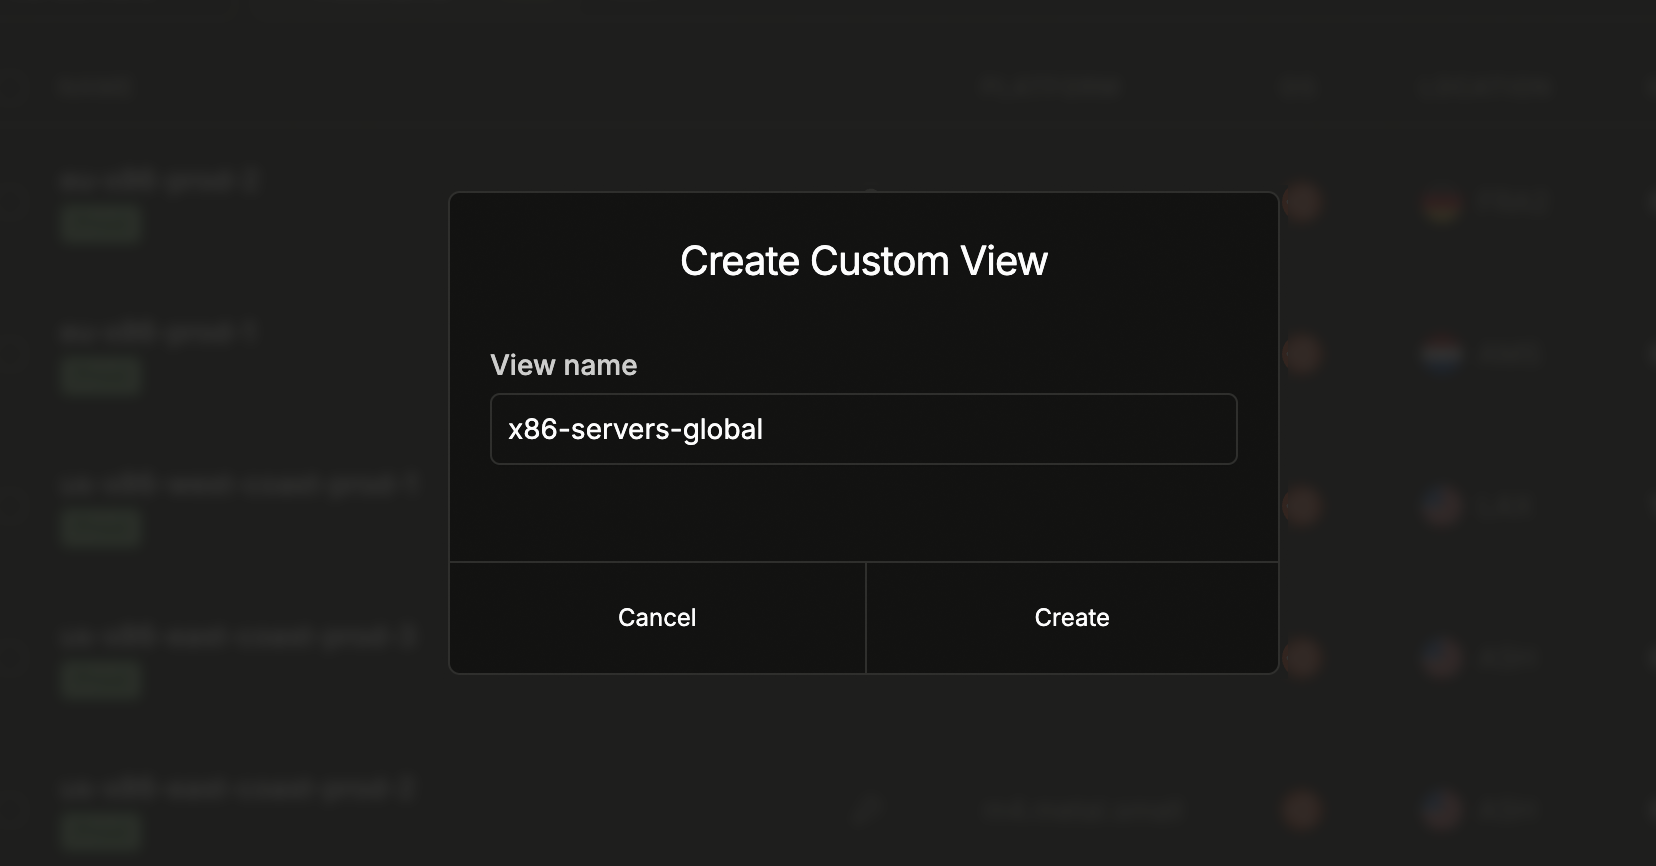
Creating Custom Views
To create a custom view:- Apply the filters you want to save on any resource list page
- Click the + (plus) button that appears next to the view selector when filters are active
- Enter a name for your custom view
- Click Create to save the view
Managing Custom Views
Once you’ve created custom views, you can manage them using the options menu:- Rename: Click the three-dot menu (⋮) next to a custom view to rename it
- Delete: Use the same menu to permanently delete custom views you no longer need
View features
- Each view gets its own unique URL for easy sharing and bookmarking
- Views are shared automatically with all team members
- You can create unlimited custom views
- Views persist your exact filter combinations for quick access