

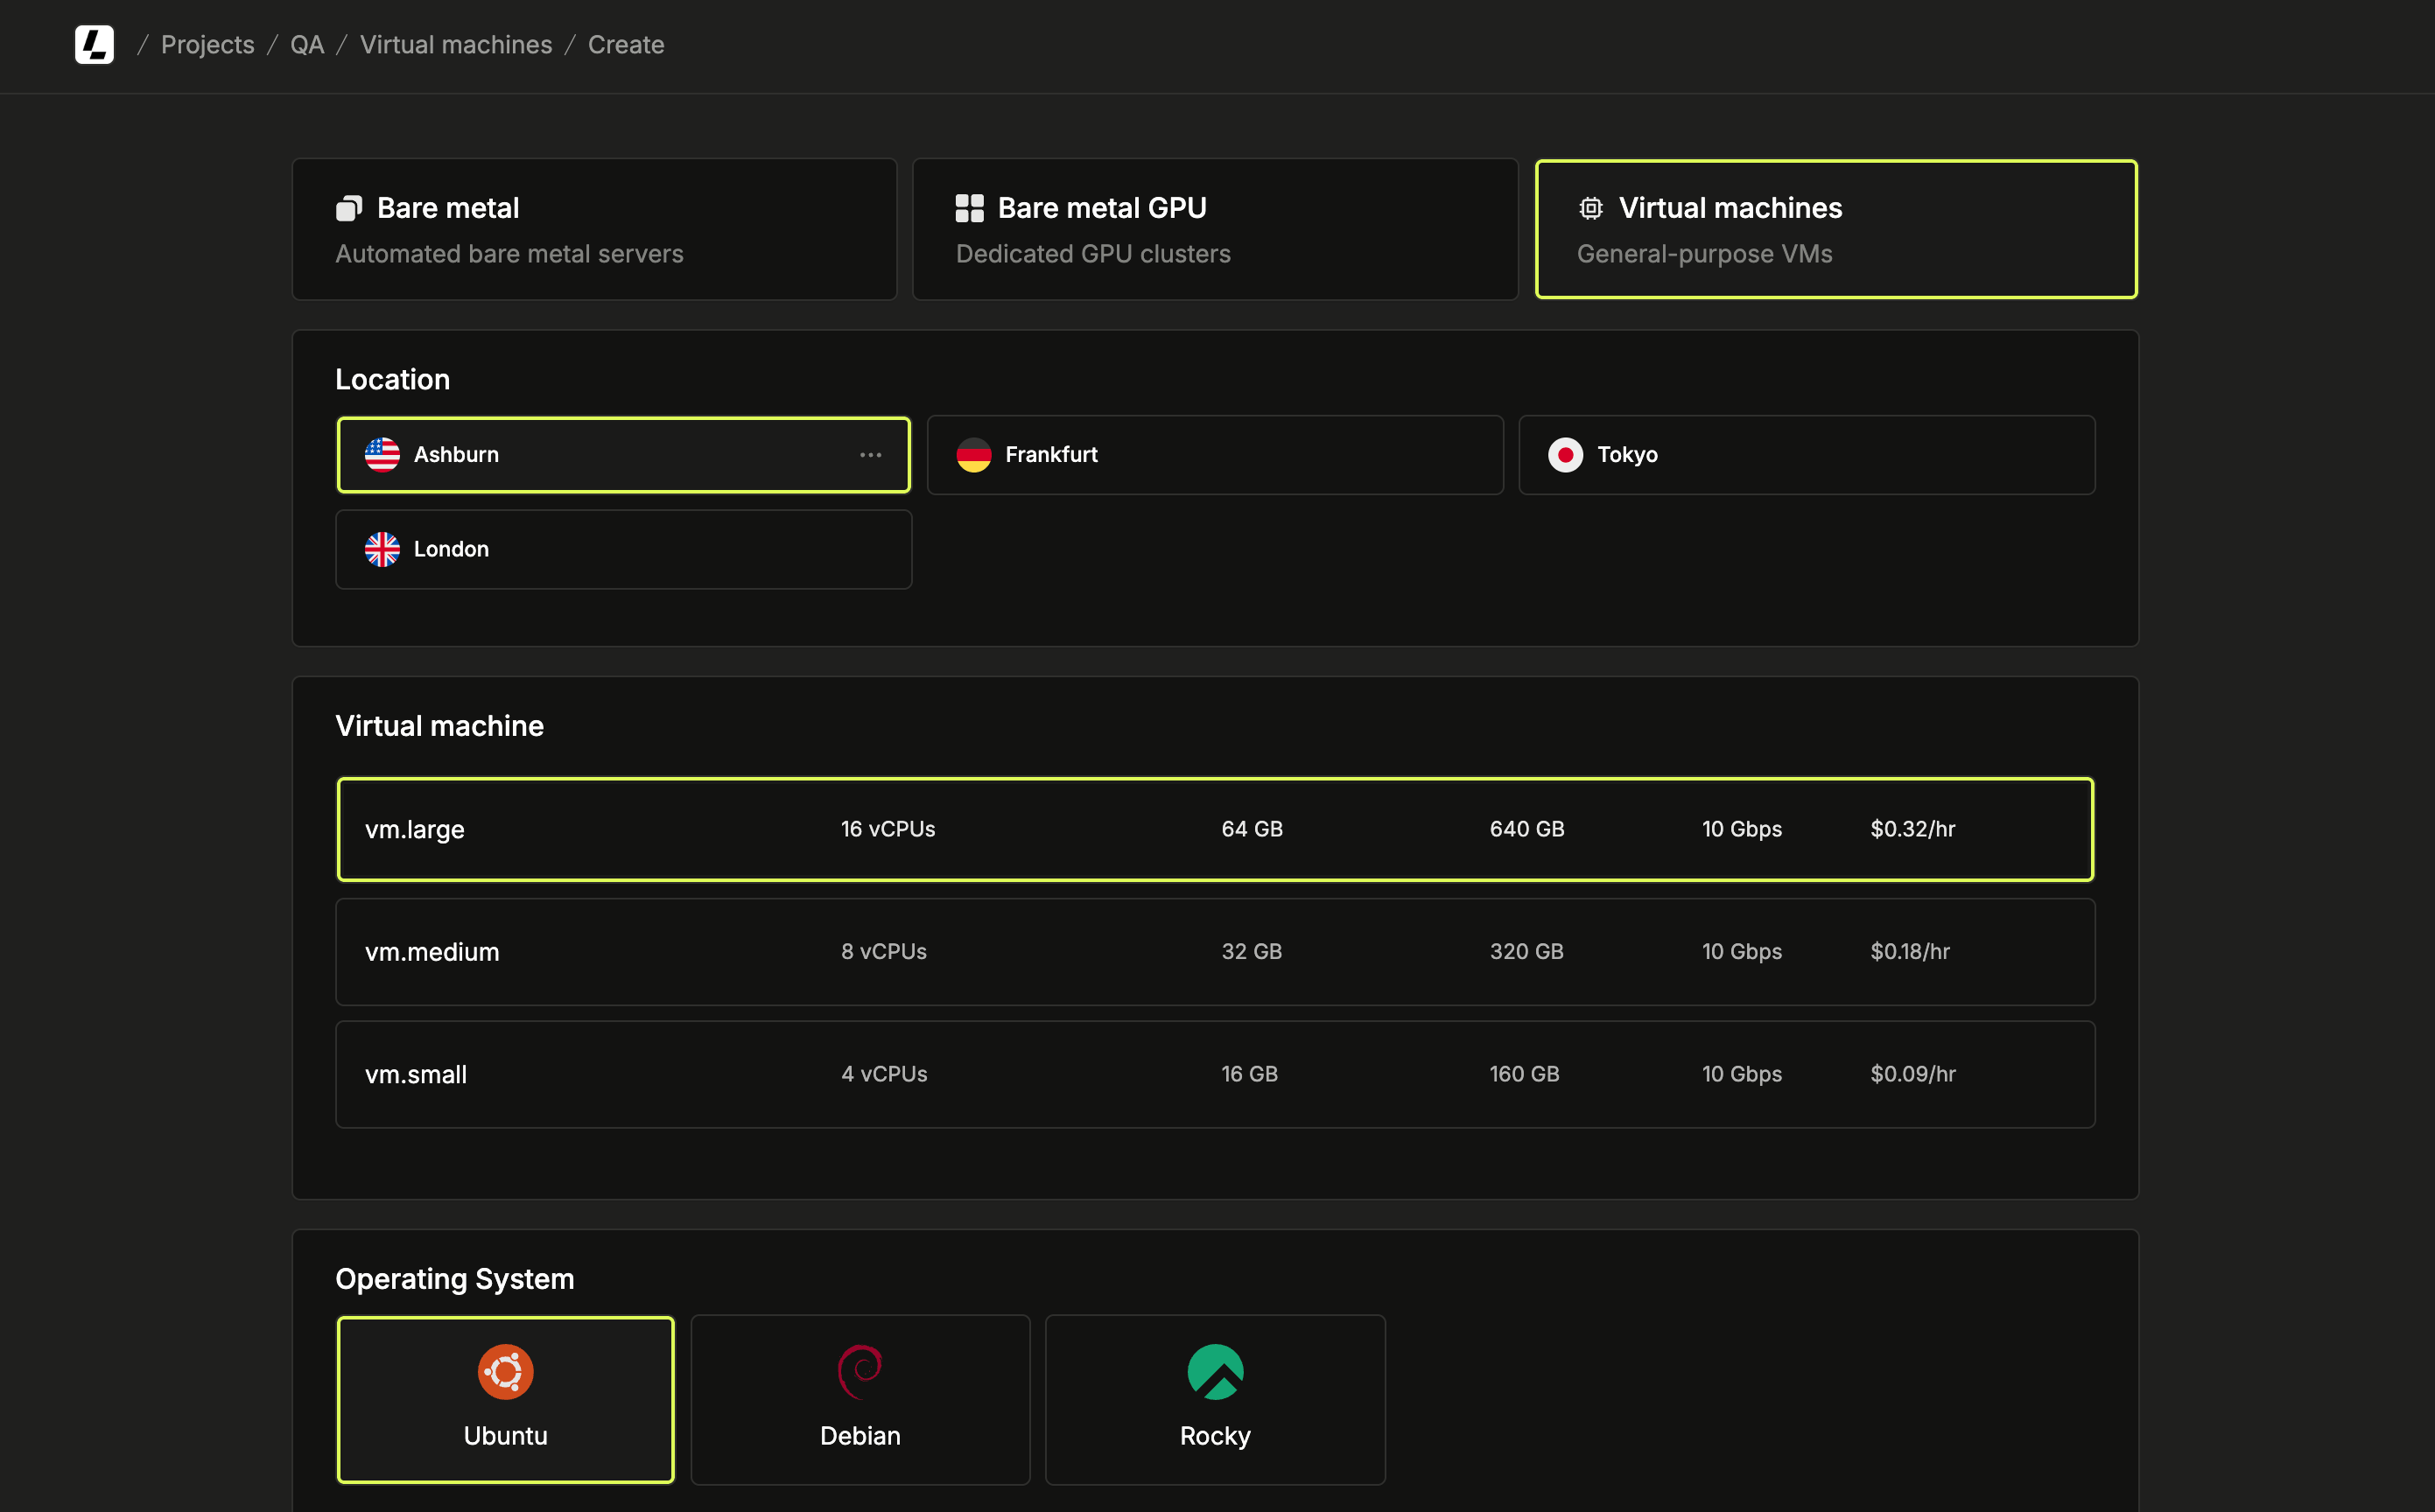
Deploying a virtual machine
Set up your virtual machine with these steps:1
Access the instance creation page
Log in to the dashboard, select a project, navigate to Virtual machines in the sidebar and click Create instance.
2
Choose plan and location
Select the configuration and location based on your workload needs.
3
Select an operating system
Choose the operating system for your instance from the available distributions and versions.
4
Set billing and instance details
Select the billing method (hourly or monthly). Choose the number of instances to deploy (1-5) and name them.Names are auto-generated based on your plan and location (e.g.,
cpu-vm-ash-1, cpu-vm-ash-2). You can customize the first name and subsequent instances follow the same pattern (e.g., web, web-2, web-3).When deploying multiple instances, the pricing summary shows the total cost and unit price per instance.5
Deploy the instances
Click Create to deploy your virtual machines. All instances deploy in parallel.
Logging into your instance
1
Connect via SSH
Go to the instance details page to find your access credentials. Use the username, password, and public IP provided to connect via SSH.The default SSH port is 22. Root access is disabled, so log in with the provided username and use sudo to switch to root if needed.
Power management
To power cycle your virtual machine, go to the instance’s overview page and click on the status dropdown. Choose one of the available options.Shutting down a virtual machine does not pause billing. To avoid charges, you
have to delete the instance instead.
Resizing a virtual machine
You can vertically upgrade a virtual machine to a larger plan, scaling its vCPU, RAM, and disk. Upgrade from the dashboard or through the API. Resizing is upgrade-only: the target plan’s vCPU, memory, and storage must each be greater than or equal to your current plan. Nothing can shrink, because the underlying volume can’t be reduced. Resizing is disruptive and runs asynchronously: the instance is powered off, migrated to the new plan, and powered back on. Once the disk grows, the guest operating system expands its own partition and filesystem to use the additional space. The managed OS images handle this automatically on boot.From the dashboard
Open the instance’s detail page and select Upgrade… next to the Plan property. Choose a larger plan from the list of eligible plans, type the instance name to confirm, and select Upgrade plan. Upgrades are only available from a stable state, so the instance must be running or stopped.Through the API
Send aPATCH request to the Update a virtual machine endpoint with the plan attribute set to the target plan. Send plan on its own — you can’t combine a resize with a name, tags, or billing change in the same request.
The endpoint returns 202 Accepted and continues the work in the background. If a resize is already in progress for the instance, it returns 409 Conflict.
Backups and restore
Capture point-in-time backups of a virtual machine’s disk and restore them into new virtual machines whenever you need to recover data or clone a machine. For the full workflow, see Backups and restore.Monitoring
Track your virtual machine’s performance metrics including CPU usage, memory usage, storage operations, and network traffic from the monitoring section on your VM’s overview page. For detailed charts and historical data, see Monitoring.Firewall
Only one firewall can protect a virtual machine at a time, managed from the Firewall assignment section on the VM’s overview page. For the full workflow, see Firewall.Deleting a virtual machine
1
Delete the instance
Click Actions > Delete and confirm the deletion.