Deploying a virtual machine
Set up your virtual machine with these steps:Access the instance creation page
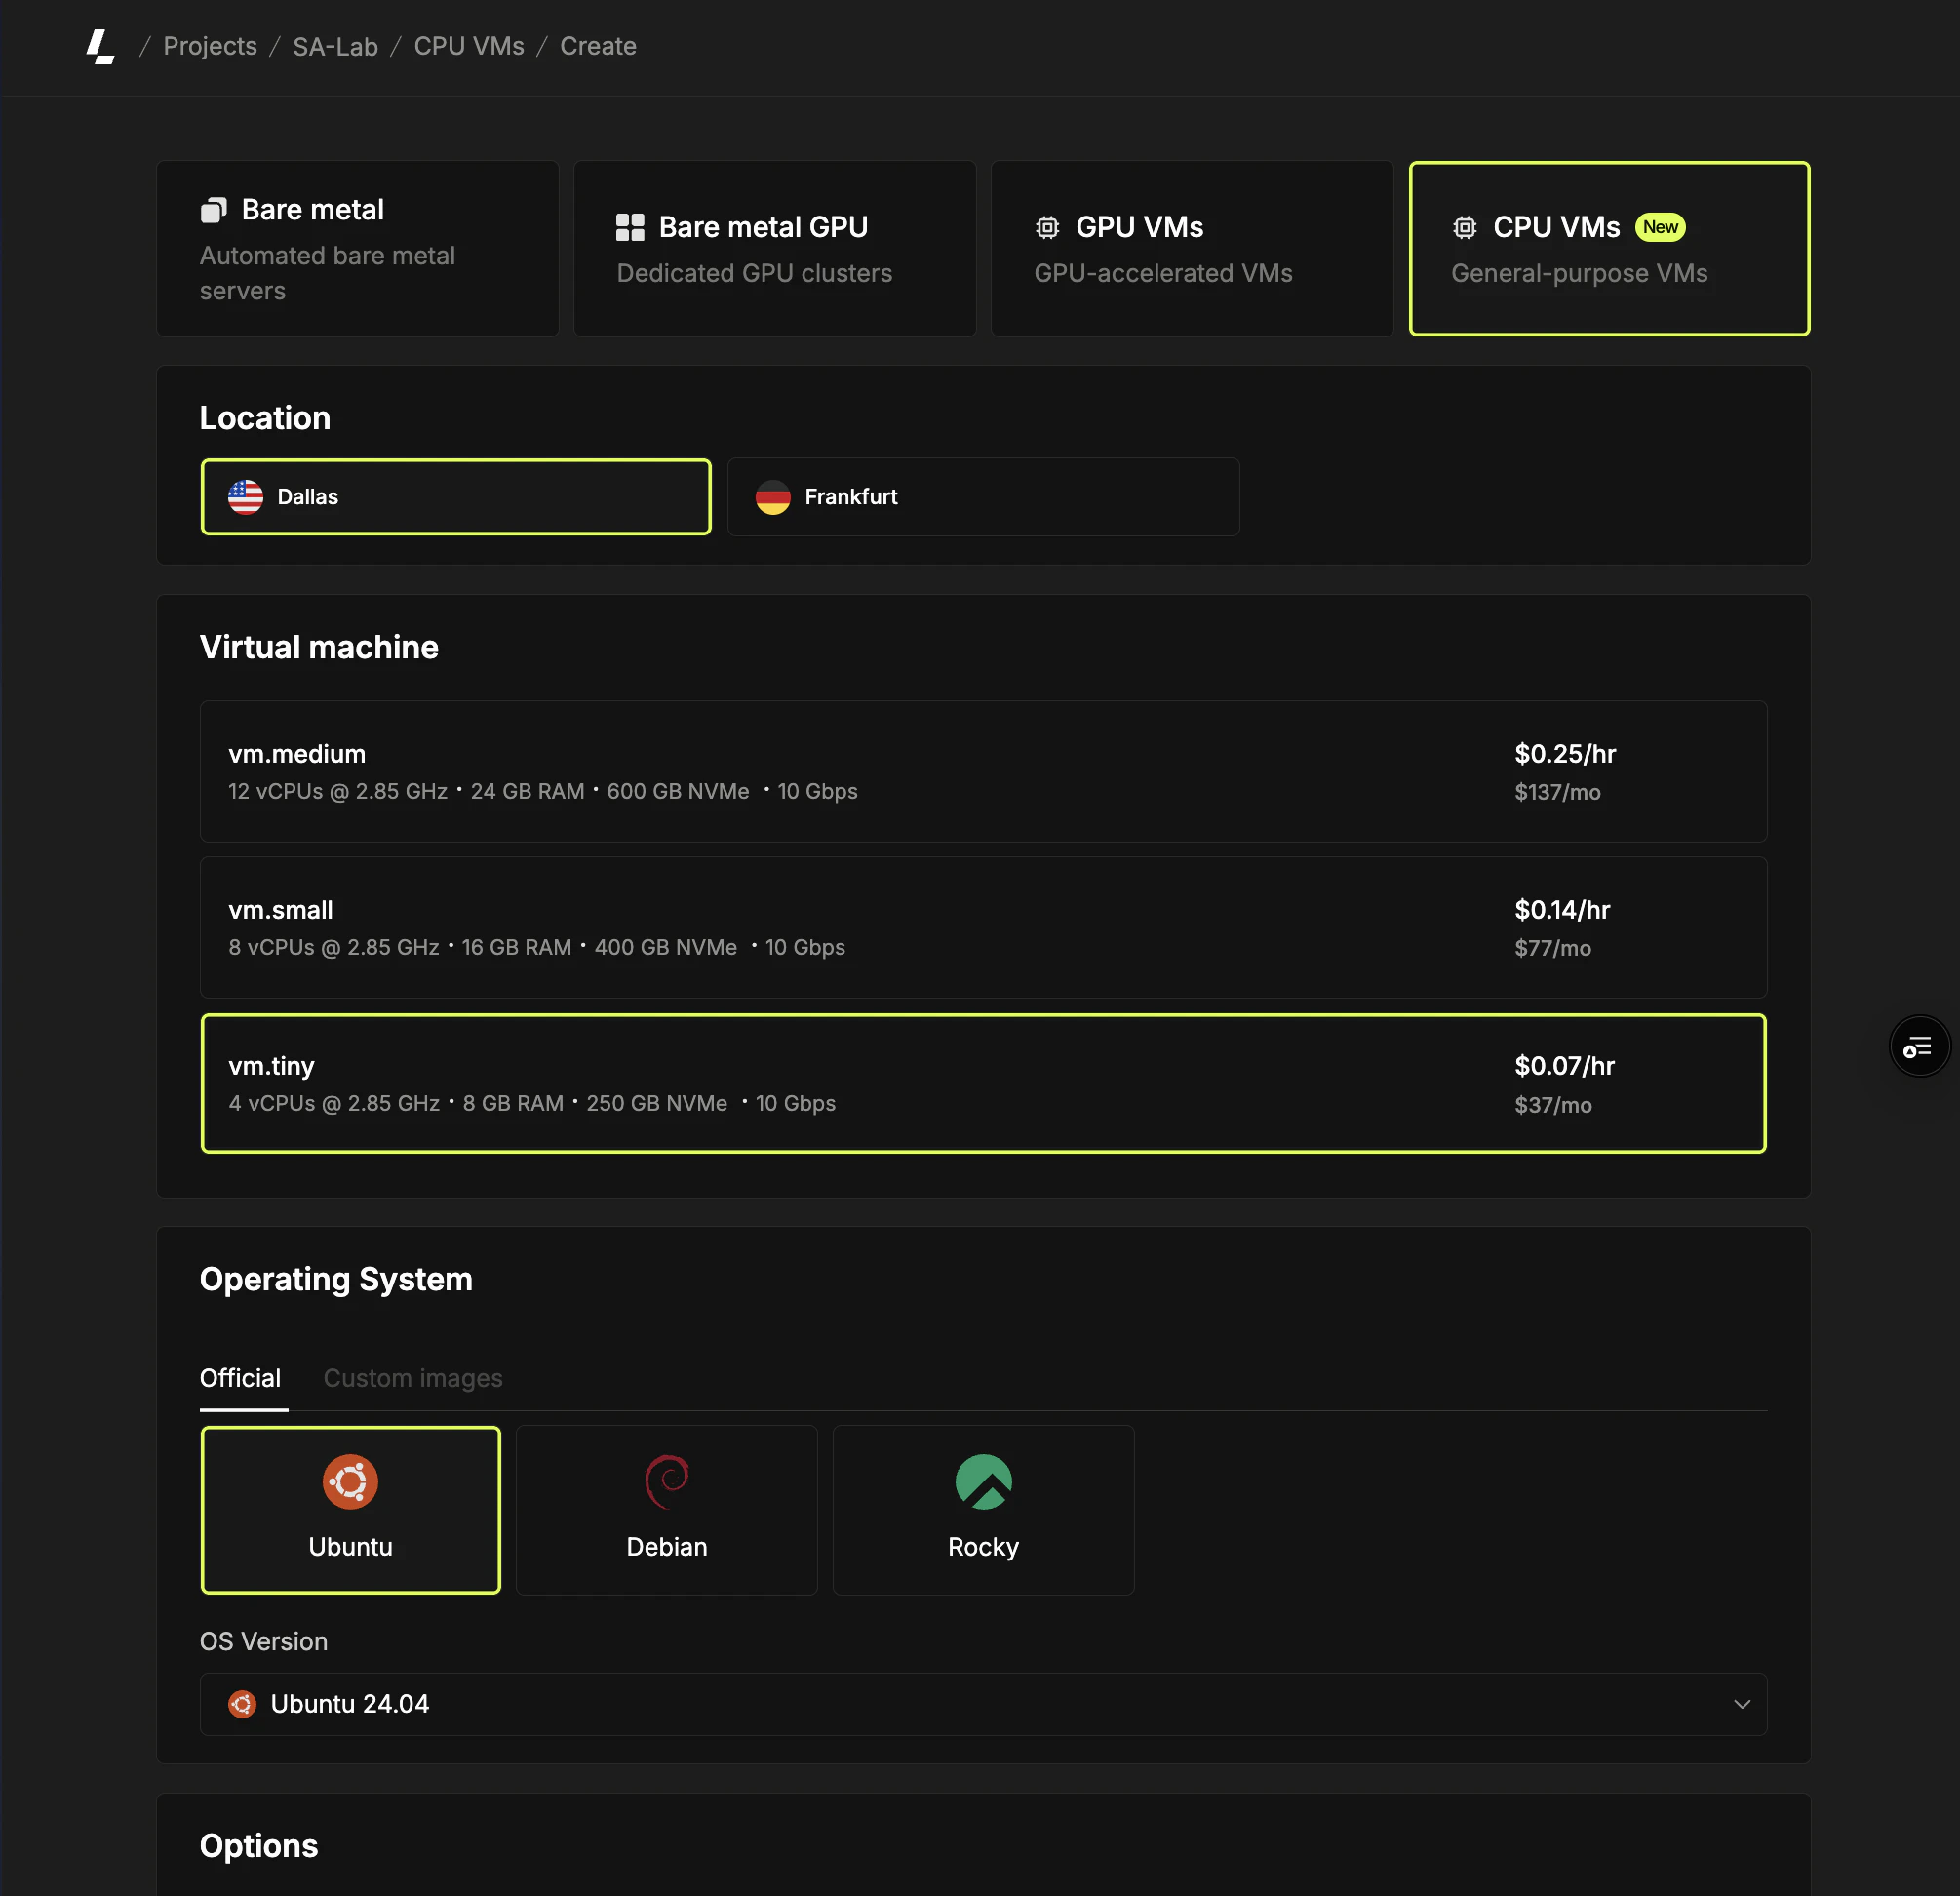
Log in to the dashboard, select a project, navigate to Virtual machines in the sidebar and click Create instance.
Select an operating system
Choose the operating system for your instance from the available distributions and versions.
Set billing and instance details
Select the billing method (hourly or monthly). Choose the number of instances to deploy (1-5) and name them.Names are auto-generated based on your plan and location (e.g.,
cpu-vm-ash-1, cpu-vm-ash-2). You can customize the first name and subsequent instances follow the same pattern (e.g., web, web-2, web-3).When deploying multiple instances, the pricing summary shows the total cost and unit price per instance.Logging into your instance
Power management
To power cycle your virtual machine, go to the instance’s overview page and click on the status dropdown. Choose one of the available options.Shutting down a virtual machine does not pause billing. To avoid charges, you
have to delete the instance instead.