- Connecting to AWS
- Connecting to GCP
- Connecting to Azure
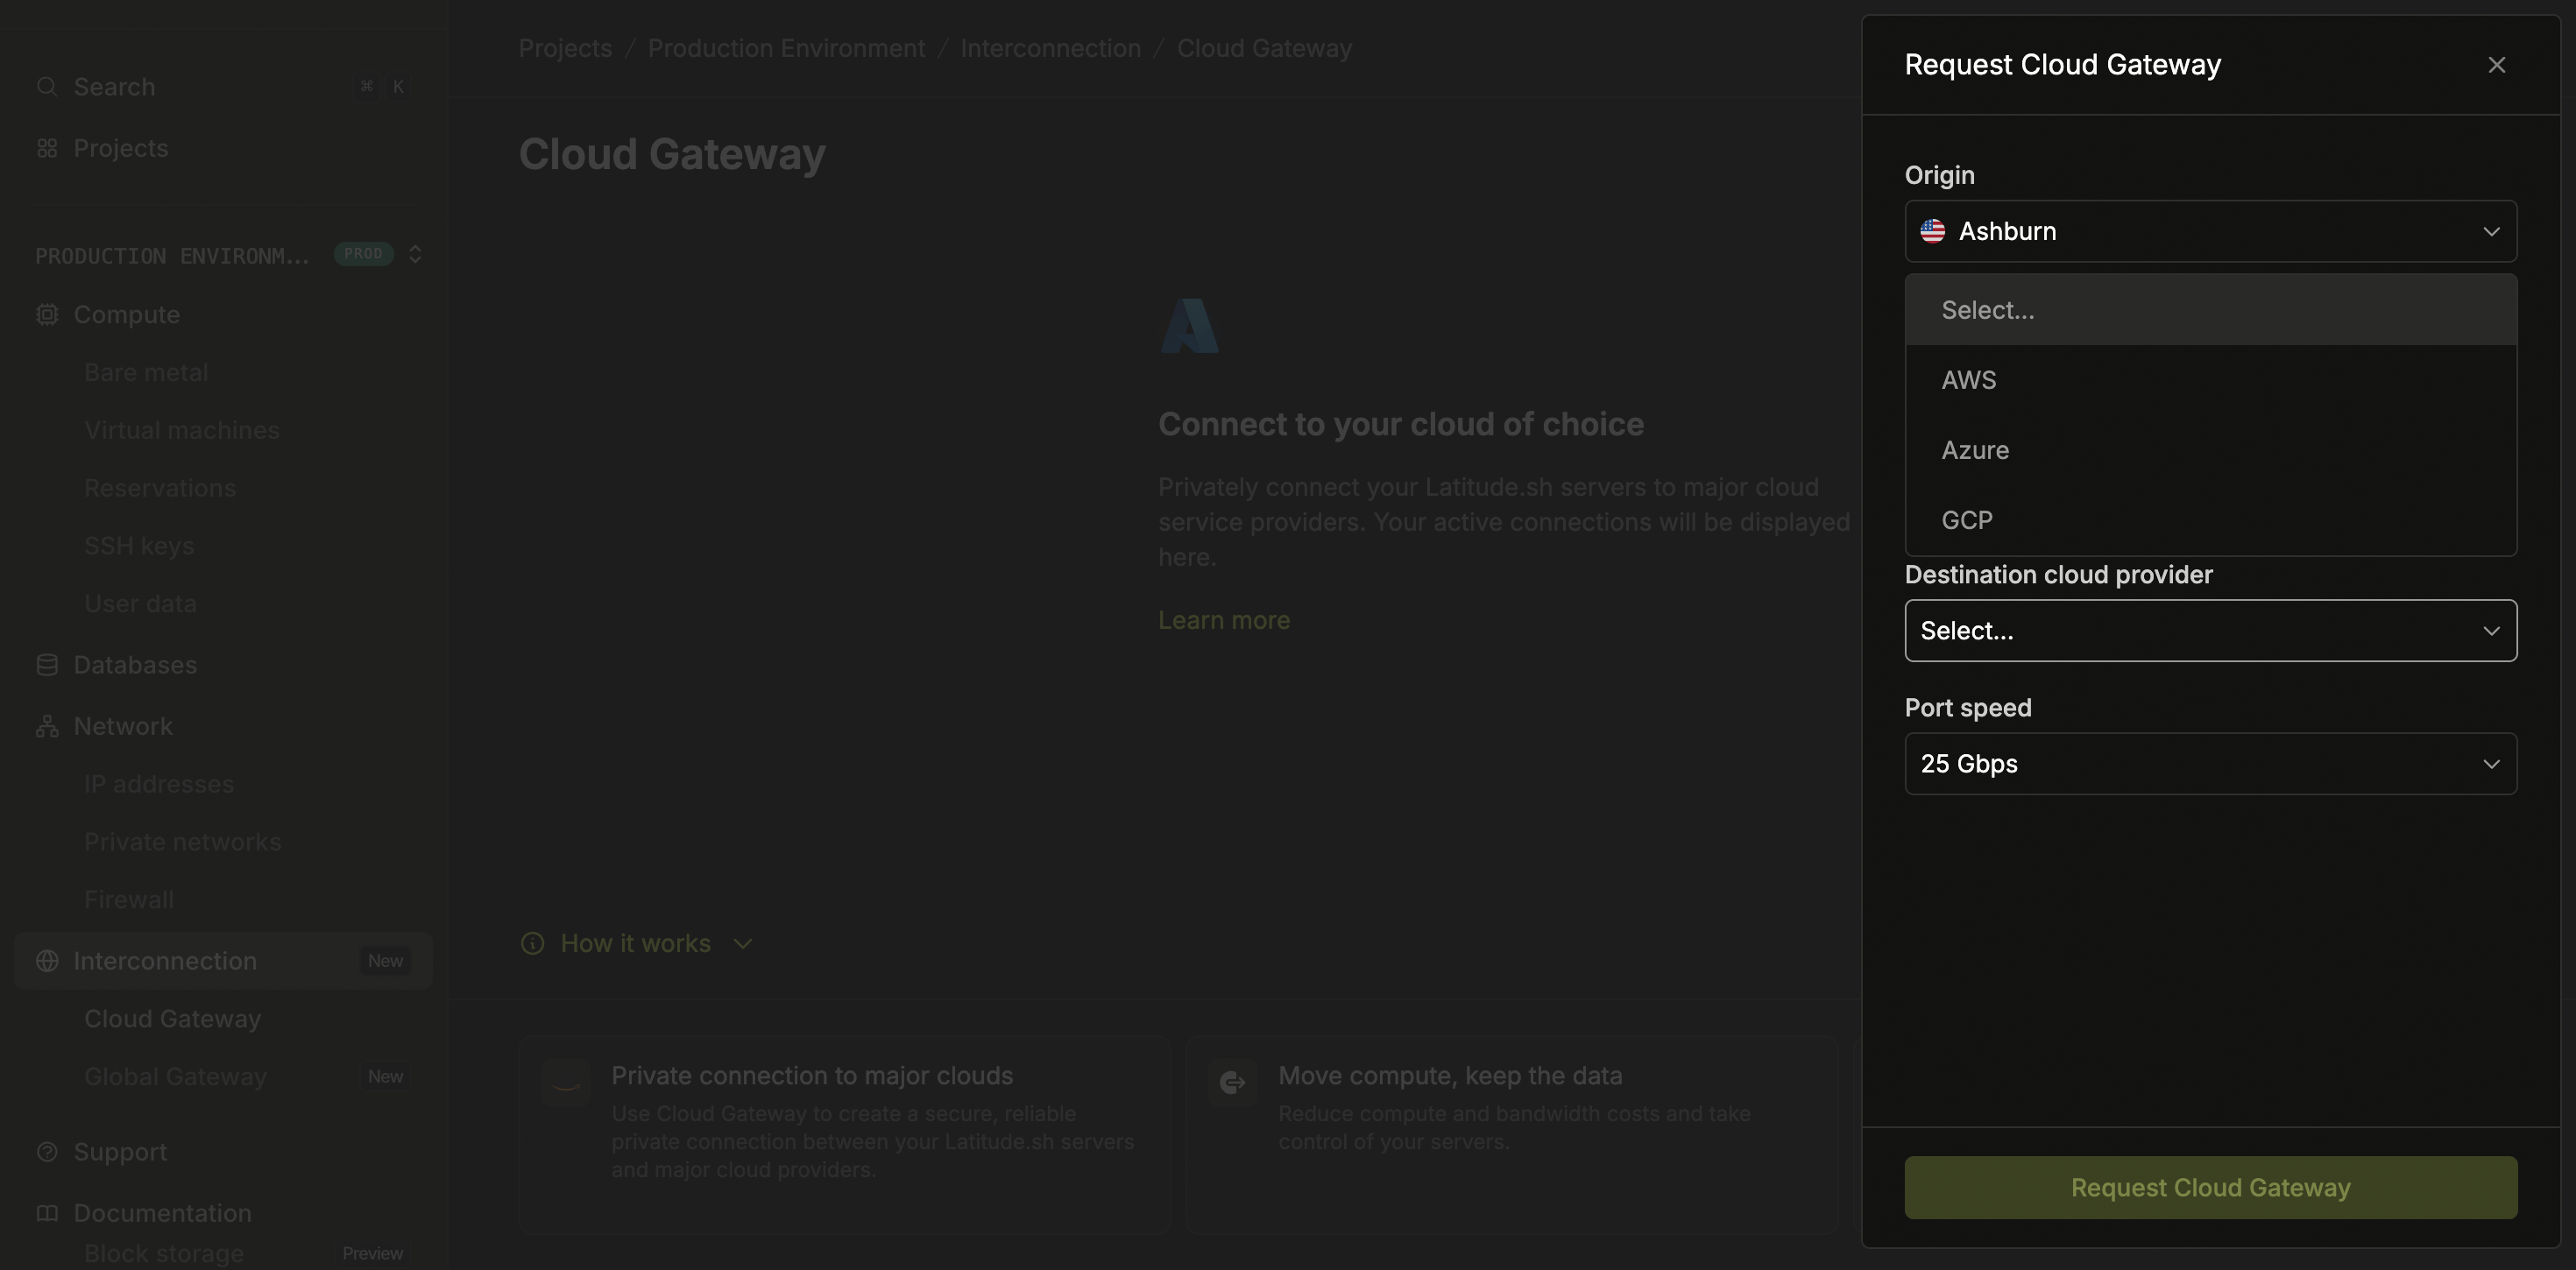
Configure connection details
Choose the location of your Latitude.sh server from which you want to establish the connection to AWS. Optionally, select a private network if one is configured.Enter the IP address range in CIDR format. The IP prefix is associated with your on-premises network and needs to be routable to AWS.
Set up AWS configuration
Select AWS as the destination cloud provider and enter the AWS region where your Virtual Private Cloud (VPC) or other resources are hosted. You can find this information in the top right corner of the AWS Management Console.Enter your 12-digit AWS account ID from the My Account section in the AWS Management Console.Enter your Amazon Autonomous System Number (ASN), found in the AWS Direct Connect Console under Virtual Interfaces.If you don’t have a virtual interface, create one through the Direct Connect setup process. See the AWS Direct Connect User Guide for more information.
Cancel AWS connection
Log in to your AWS account and remove the connection associated with Cloud Gateway. Next, go to Support in the dashboard and create a New ticket to request service cancellation.The connection will be terminated once both steps are completed and the team processes your request.