What is an iPXE script
The iPXE script contains a set of instructions that specify how the network boot process should be performed. This can include loading an operating system image from a remote server, setting up network configurations, and executing custom scripts or commands. Learn more about iPXEDHCP
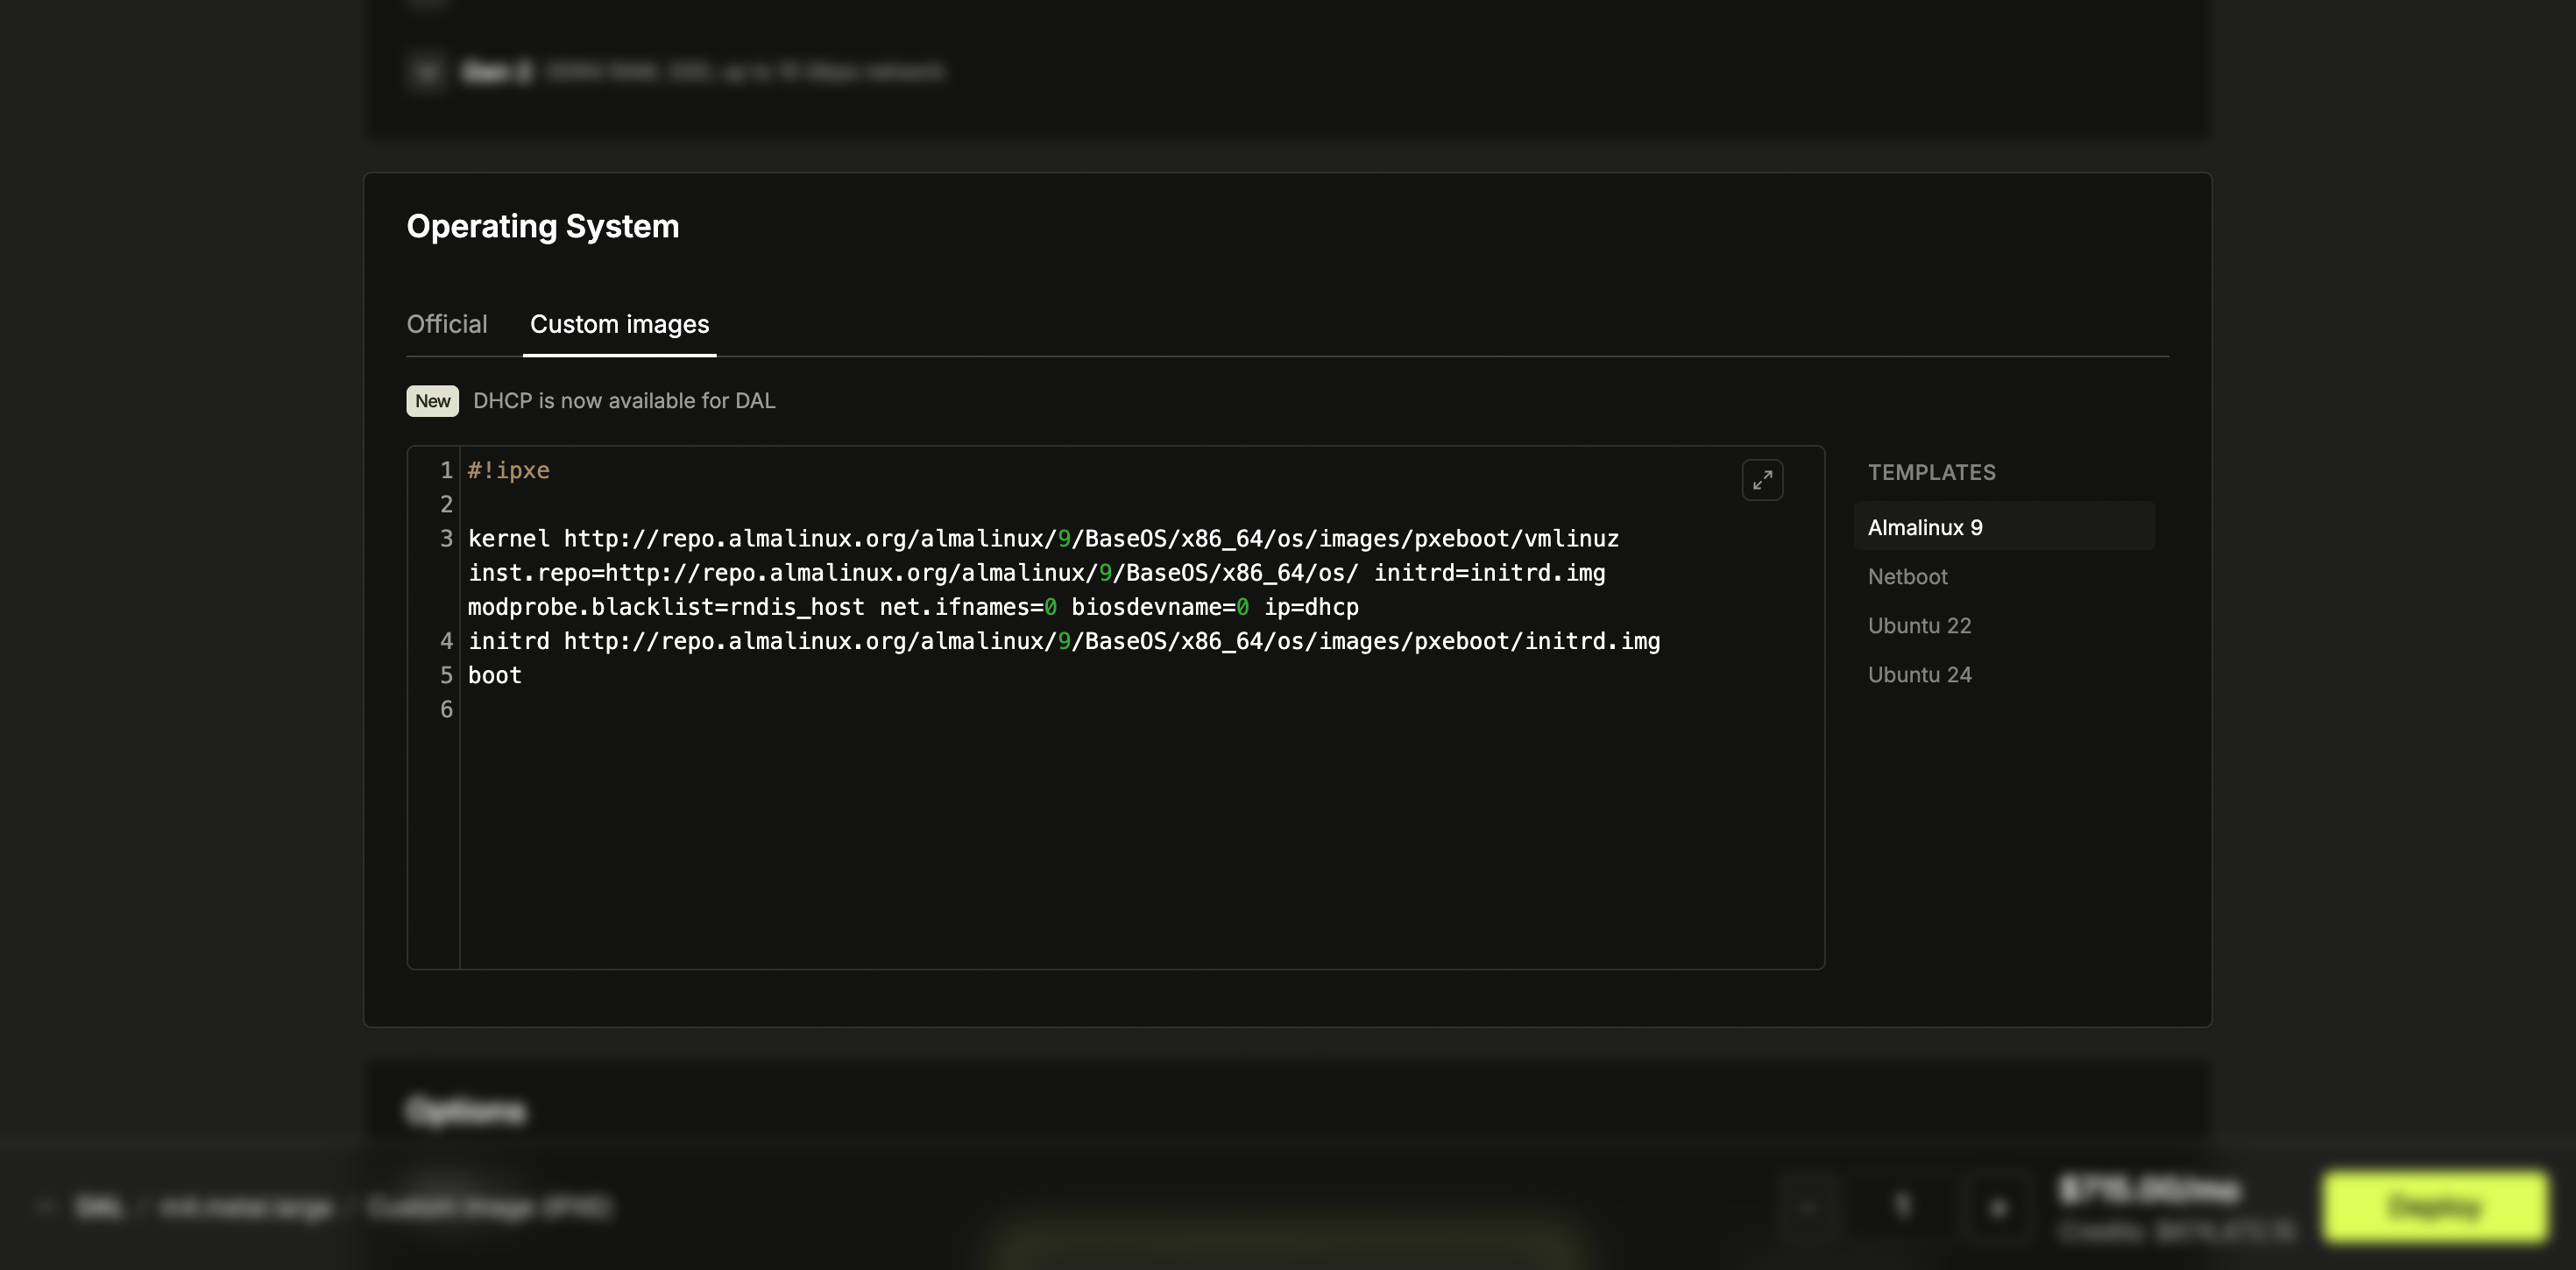
Custom images use DHCP to automatically assign an IP address during boot, so you don’t need to manually configure network settings.How to deploy a custom image
- For the Operating System option on the server create page, paste your iPXE script under Custom images or select one of the examples from the right.
- Finish filling out the rest of the server create form as usual, including selecting the server type, location, and any other options you need.
- When ready, click the Deploy button at the bottom of the page. Latitude.sh will begin deploying your server using your iPXE script, and you should see status updates on the server’s progress in your account dashboard.