> ## Documentation Index
> Fetch the complete documentation index at: https://www.latitude.sh/docs/llms.txt
> Use this file to discover all available pages before exploring further.
# Kubernetes on bare metal with Rancher
> A guide to get you started with Kubernetes on bare metal with Rancher RKE2
Managed Kubernetes is the go-to way to get started with Kubernetes. EKS, GKE, and AKS are all popular Kubernetes services. You give away control in exchange for a faster setup.
As your Platform team matures and your workloads grow, you might want to run Kubernetes on infrastructure you control for cost, control, or performance purposes. Or you may have realized that the added lock-in of managed Kubernetes is not worth it.
Either way, running Kubernetes on bare metal is a great option. You get the control and performance of running on infrastructure you control without the overhead of virtualization.
So we did the heavy lifting for you. A guide and Terraform plan to get Kubernetes up and running on bare metal.
## Requirements
* [1 Latitude.sh](https://www.latitude.sh) server for Rancher
* [3 Latitude.sh](https://www.latitude.sh) servers for the cluster
* [Kubectl](https://kubernetes.io/docs/tasks/tools/#kubectl) and [helm](https://helm.sh/docs/intro/install/) installed on your local machine for managing the cluster
## Let's get started
We have tried and tested most Kubernetes services, control planes and distributions. [Rancher RKE2](https://www.rancher.com/) has been one of the best to work with. It is intuitive, easy to use, and has a great community. It's the distribution we run our production clusters on.
If security and performance are important to you, RKE2 is a decent option. RKE2 is a CNCF-certified Kubernetes distribution that is secure by default and has a small footprint. It will set up a conformant cluster you can start using in minutes. More importantly, it is easy to maintain and upgrade.
While the Rancher server is lightweight, it is important to run it on a separate server to avoid conflicts and issues during setup and later on.
## Install Rancher
The first thing we will do is set up the Rancher server. This server will be used to manage your Kubernetes clusters.
Go to the [Latitude.sh console](https://metal.new) and **create one server with Ubuntu 24.04**. A server with 16GB of RAM is enough.
SSH into the server and run the following command.
```bash theme={null}
curl -sfL https://get.k3s.io | INSTALL_K3S_VERSION="v1.28.11-rc1+k3s2" sh -s - server --cluster-init
```
Version 1.28 is the latest supported version as of this writing.
Copy the contents of `/etc/rancher/k3s/k3s.yaml`.
```bash theme={null}
sudo cat /etc/rancher/k3s/k3s.yaml
```
On your local machine, create a new file (e.g., `rke2-kubeconfig.yaml`) and paste the contents of the `k3s.yaml` file into it.
Update the server URL in the kubeconfig file to point to the Rancher server's IP address. Leave the IP URL with HTTPs and port 6443.
```yaml theme={null}
apiVersion: v1
clusters:
- cluster:
certificate-authority-data: ...
server: https://:6443
name: default
... # trimmed for brevity
```
Open the terminal and set the `KUBECONFIG` environment variable to point to the location of your kubeconfig file:
```bash theme={null}
export KUBECONFIG=/path/to/rke2-kubeconfig.yaml
```
Add to your shell profile file (e.g., \~/.bashrc or \~/.zshrc) to make it
persistent across terminal sessions.
Verify that you can access the Rancher server by running `kubectl get nodes`. It should display the node of your Rancher cluster, similar to the following:
```bash theme={null}
$ kubectl get nodes
NAME STATUS ROLES AGE VERSION
kubernetes-on-bare-metal Ready control-plane,etcd,master 17m v1.28.11-rc1+k3s2
```
To proceed, you will need to have [kubectl](https://kubernetes.io/docs/tasks/tools/#kubectl) and [helm](https://helm.sh/docs/intro/install/) installed on your local machine.
From your local terminal, run the following commands.
```bash Unix theme={null}
helm repo add rancher-latest https://releases.rancher.com/server-charts/latest
kubectl create namespace cattle-system
kubectl apply -f https://github.com/cert-manager/cert-manager/releases/download/v1.15.1/cert-manager.crds.yaml
helm repo add jetstack https://charts.jetstack.io
helm repo update
helm install cert-manager jetstack/cert-manager \
--namespace cert-manager \
--create-namespace
```
```powershell Powershell theme={null}
helm repo add rancher-latest https://releases.rancher.com/server-charts/latest
kubectl create namespace cattle-system
kubectl apply -f https://github.com/cert-manager/cert-manager/releases/download/v1.15.1/cert-manager.crds.yaml
helm repo add jetstack https://charts.jetstack.io
helm repo update
helm install cert-manager jetstack/cert-manager `
--namespace cert-manager `
--create-namespace
```
cert-manager v1.15.1 is the latest version as of this writing. Go to
[https://github.com/cert-manager/cert-manager/releases](https://github.com/cert-manager/cert-manager/releases) to find the latest
version.
We are now ready to install Rancher. Rancher requires a domain name to forward traffic to the Rancher server. For the sake of simplicity, we will use sslip.io, a fake domain name that doesn't require any setup.
```bash Unix theme={null}
helm install rancher rancher-latest/rancher \
--namespace cattle-system \
--set hostname=.sslip.io \
--set replicas=1 \
--set bootstrapPassword=
```
```powershell Powershell theme={null}
helm install rancher rancher-latest/rancher `
--namespace cattle-system `
--set hostname=.sslip.io `
--set replicas=1 `
--set bootstrapPassword=
```
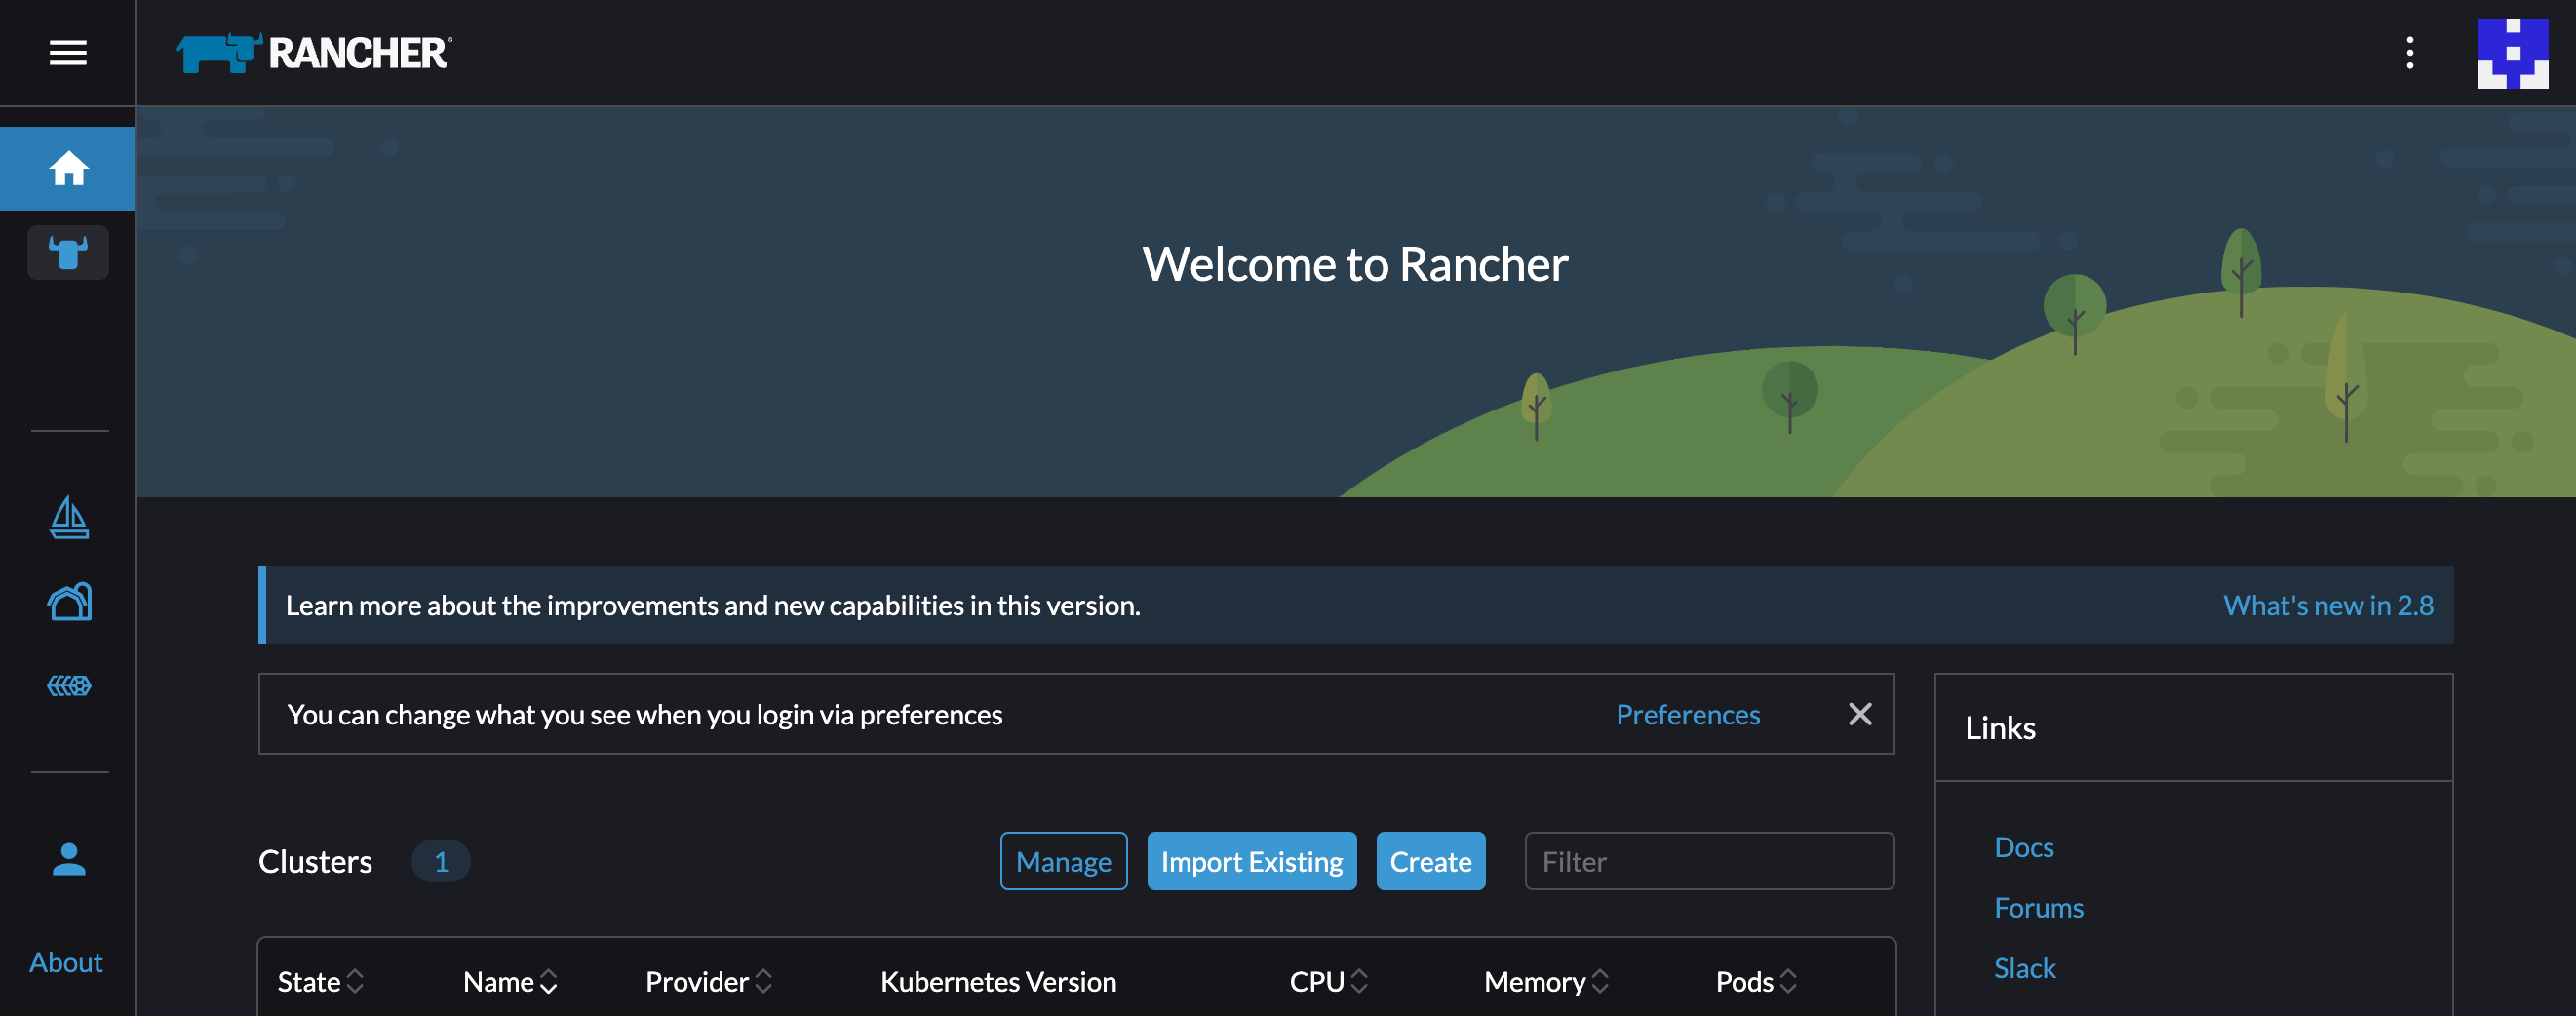
Go to `https://.sslip.io` and log in with the password you have set for the Rancher admin user. You should see the following screen:
Rancher takes a few minutes to initialize. Don't worry if you see a 404 error when you access the domain. Just wait a little longer.
## Create the K8s cluster
Choose your adventure 👇
[Create three more servers](https://metal.new) in the same location of the Rancher server.
From the Rancher UI, click on Create then select the Custom option. Set a name for your cluster and click Create. You don't need to change any of the other settings. You can always come back and change them later.
On the cluster registration page, leave `etcd`, `Control Plane`, and `Worker` checked. Click on **Show Advanced**, select one of the servers you created for the cluster, and add its hostname and public IP.
**Bonus:** If you want cluster communication through a private network, set up a [private network](/networking/private-networks) and add the private IP under Node Private IP.
In Step 3, as we are using a self-signed certificate, check the Insecure option. If you set up your domain with TLS, leave insecure unchecked.
Copy the registration command and run it on the first server, the same server you used to install Rancher. You should see it being registered.
Repeat the same process for the other two servers. You can run different roles on different servers. For example, you can run `etcd` and `Control Plane` on one server and `Worker` on the other two.
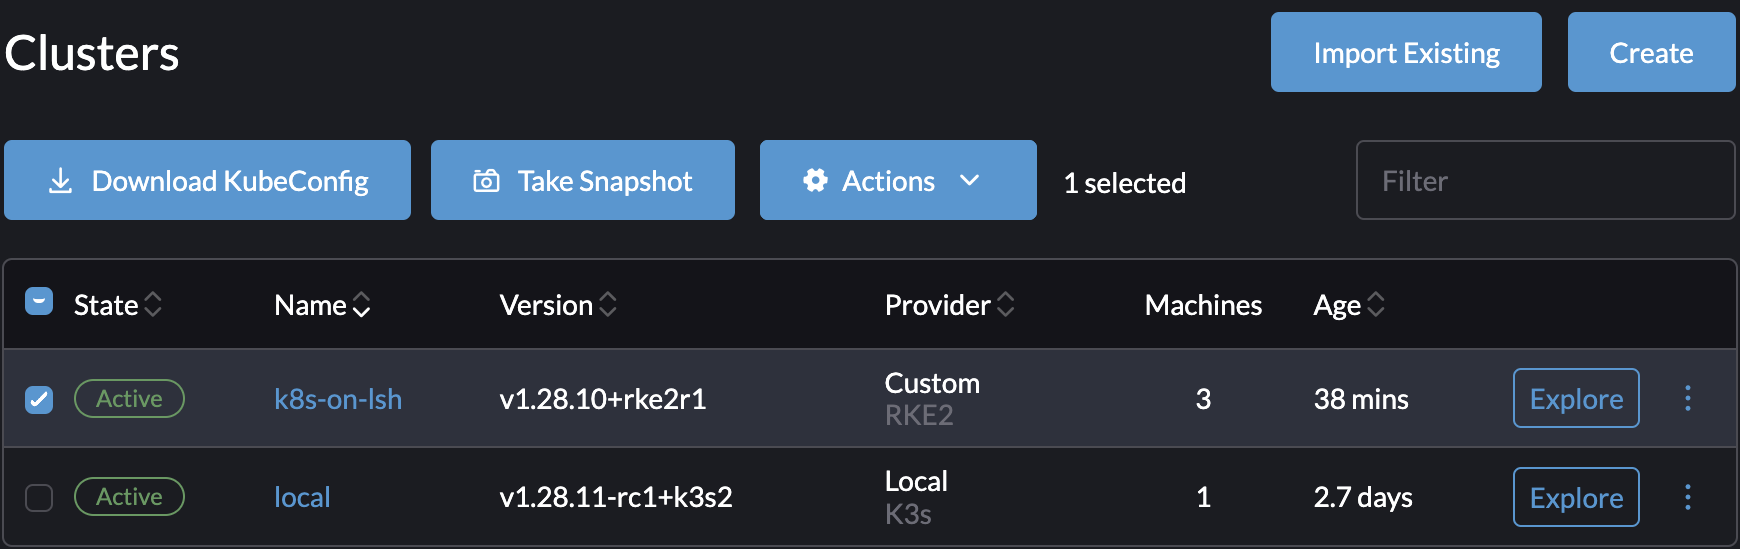
It takes a few minutes for nodes to join the cluster. When the process is complete, your cluster's state will be *Active*. From there you can download the kubeconfig file and use it to access the cluster.
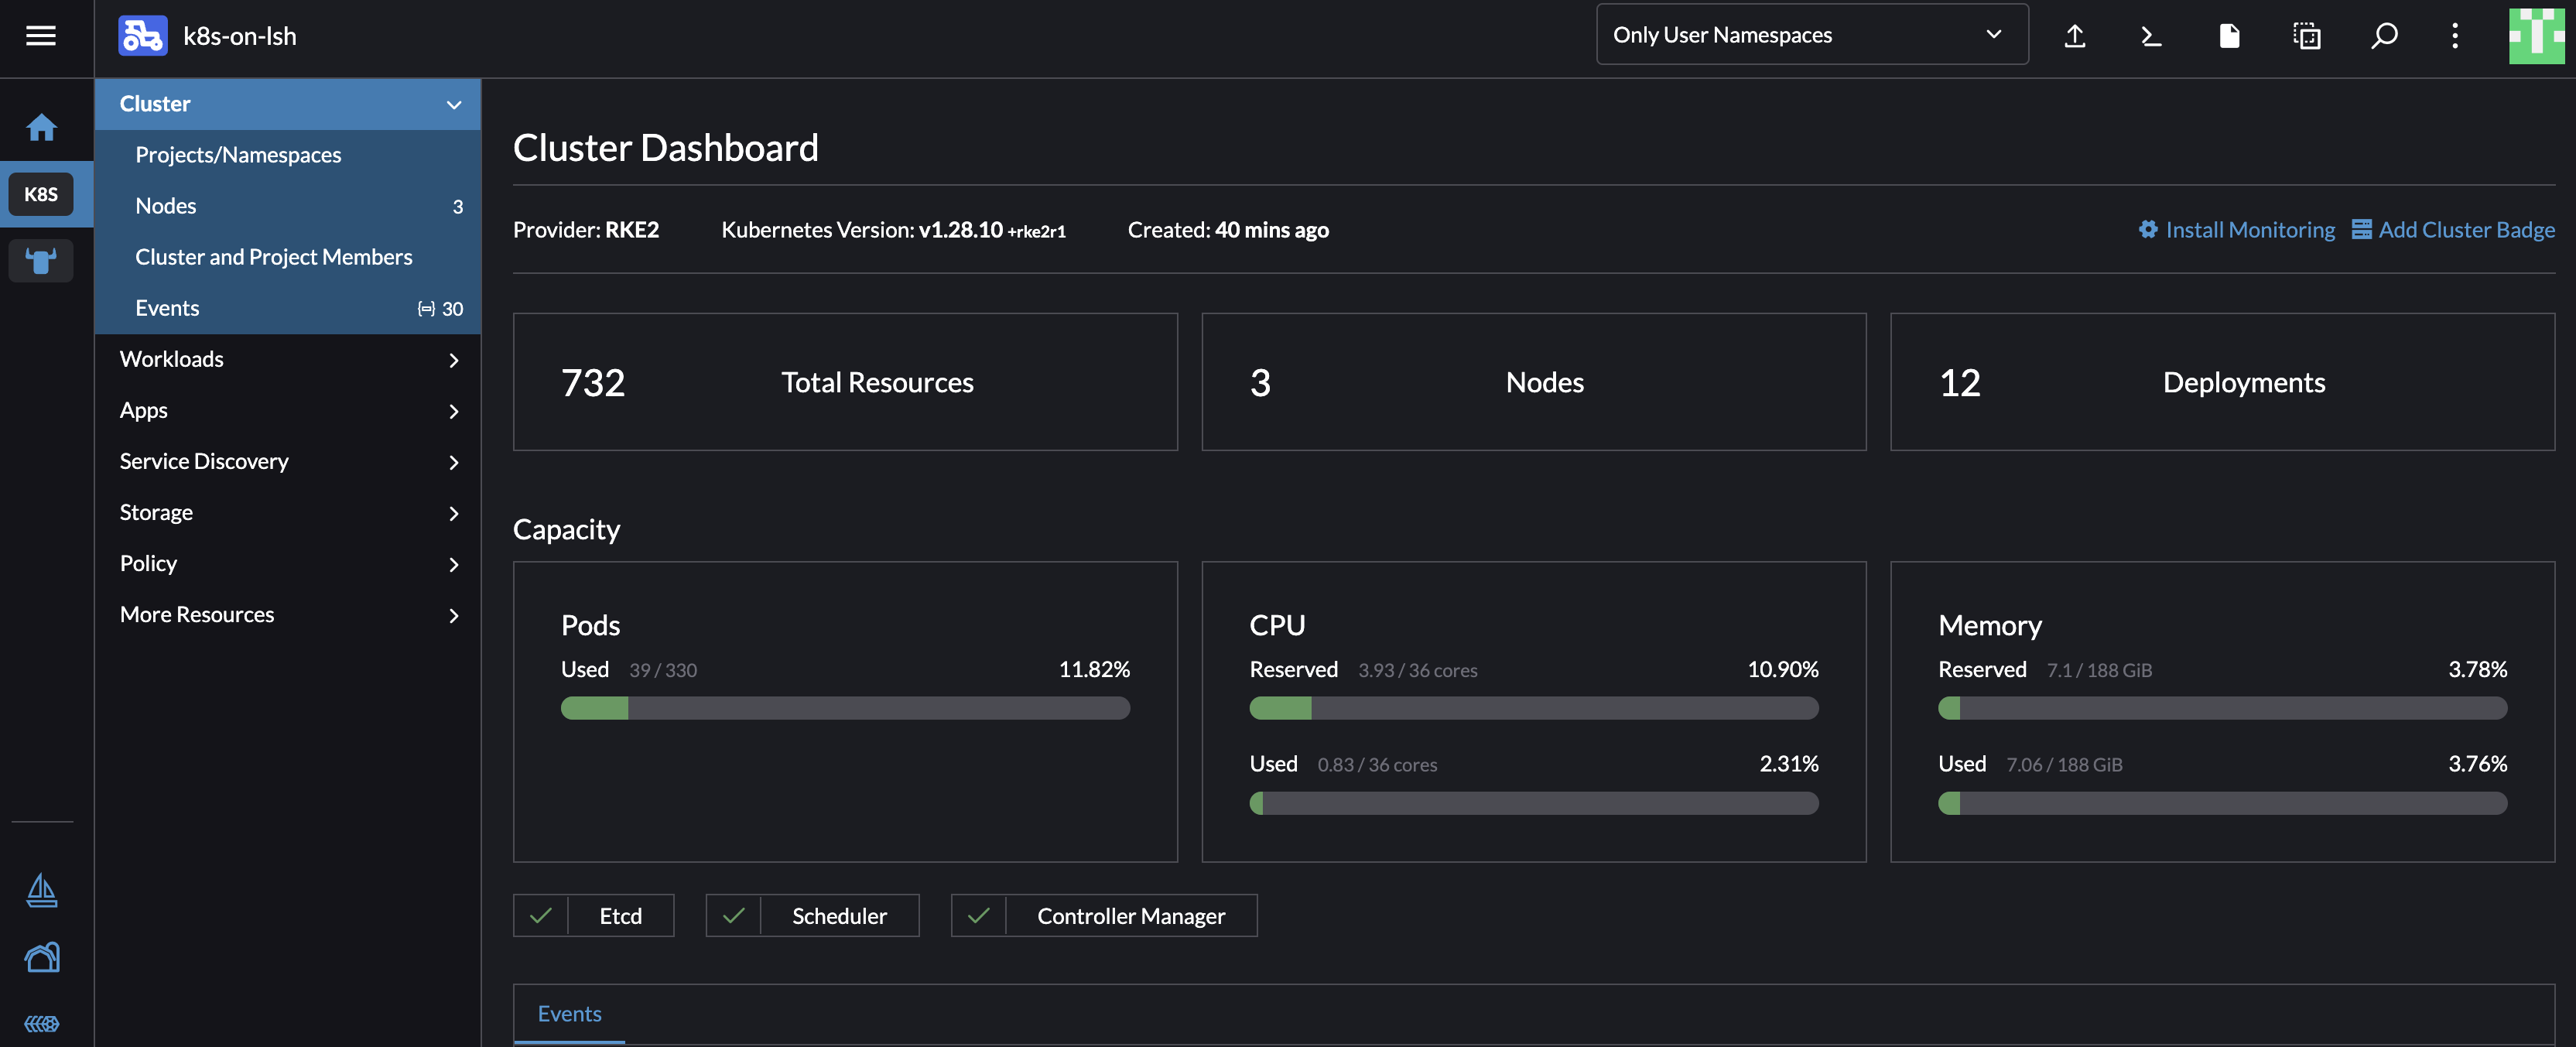
Go to your new cluster on the sidebar and start using it.
Complete Terraform guide for automated deployment
Direct access to the Terraform configuration files
 Go to your new cluster on the sidebar and start using it.